Introducing Build Scans
Introduction
A few months ago at this year’s Gradle Summit conference, we announced a new part of the Gradle platform called Gradle Cloud Services. In this post, I want to introduce you to the first of these services—the Gradle Build Scan Service—and the build scans it makes possible.
What is a build scan? #
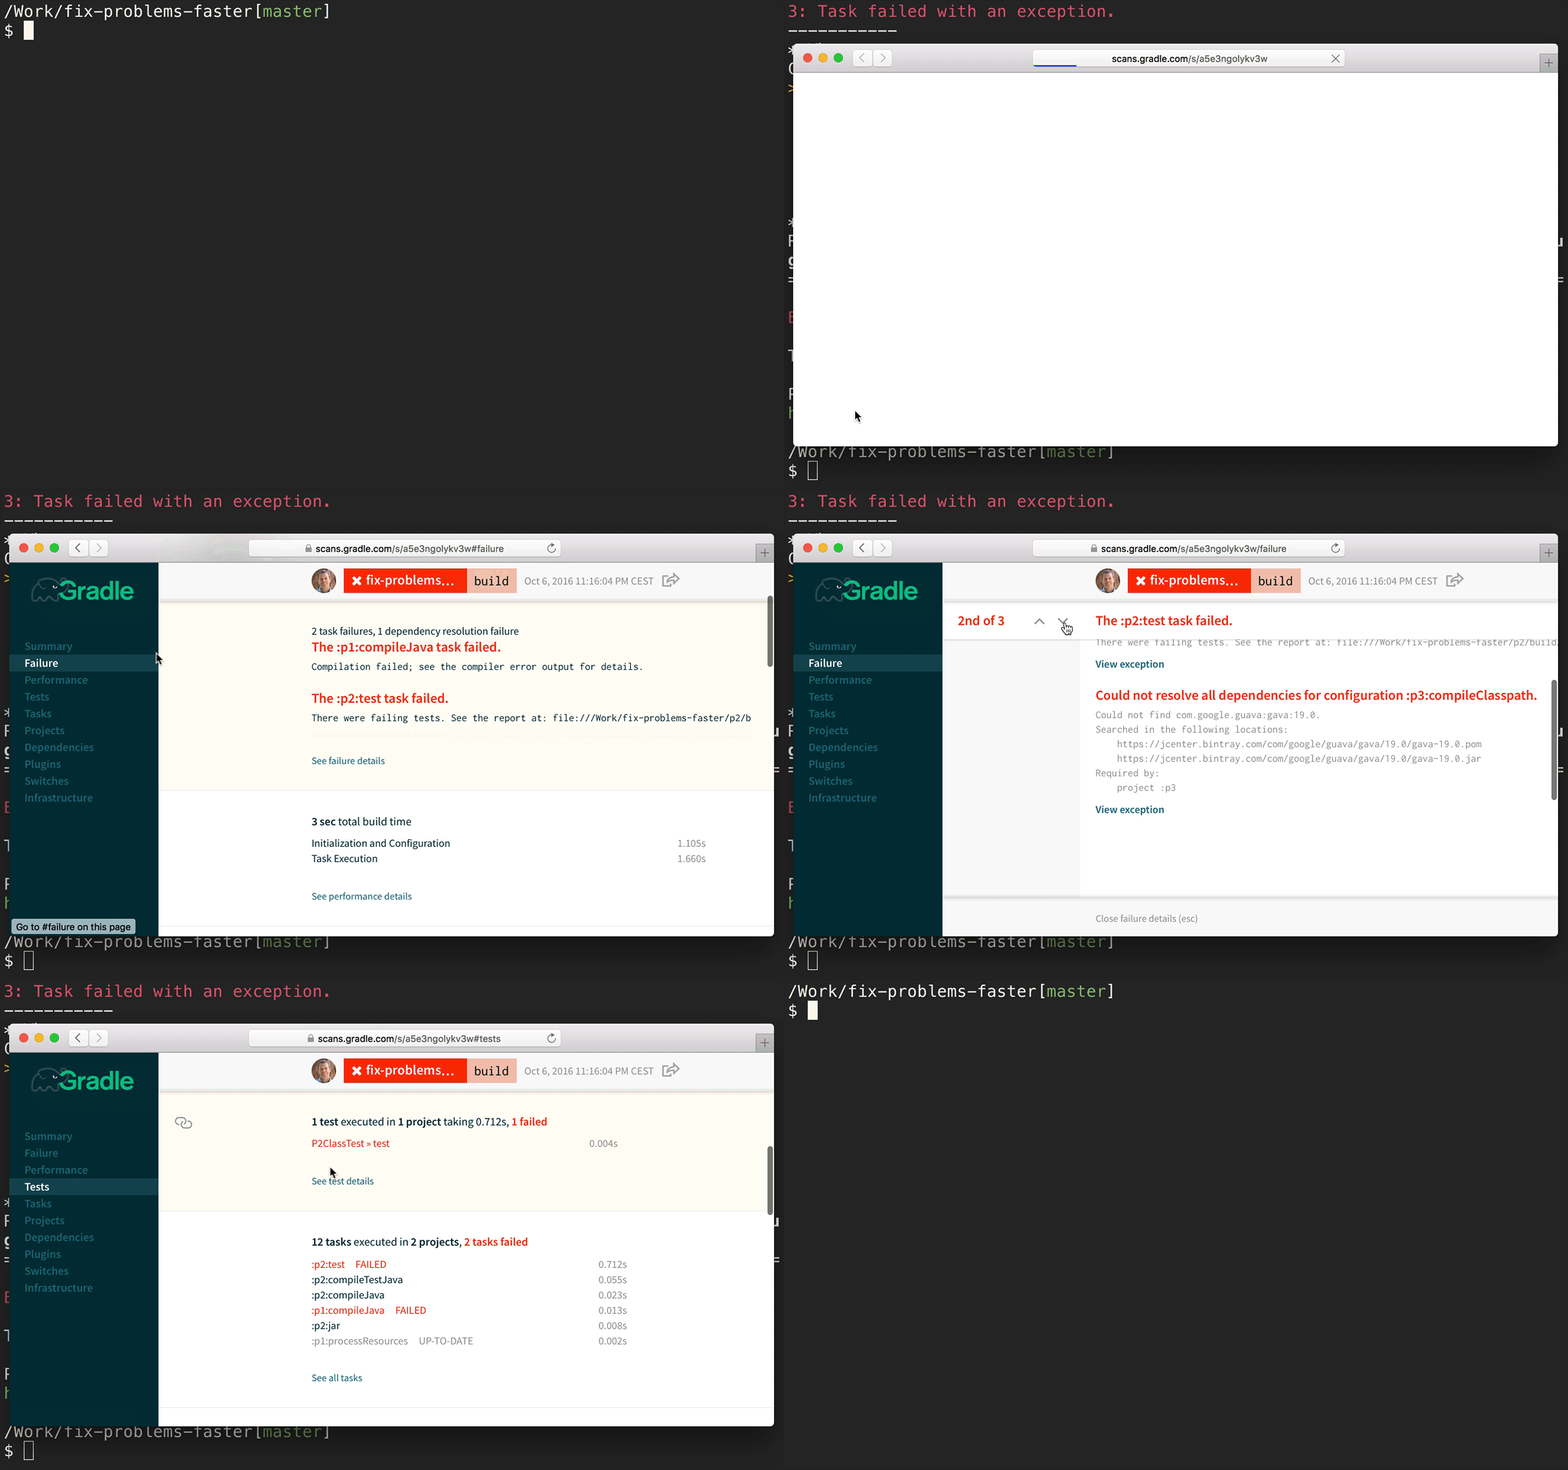
A build scan is a representation of data captured as you run your build. The Build Scan Plugin does the work of capturing the data and sending it to the Build Scan Service. The service then transforms the data into information you can use and share with others. Here’s a quick example of using a build scan to investigate a failure:

As you can see, the information that scans provide can be a big help when troubleshooting, collaborating on, or optimizing the performance of your builds. For example, with a build scan in the mix, it’s no longer necessary to copy and paste error messages or include all the details about your environment each time you want to ask a question on Stack Overflow or the Gradle Forum. Instead, just include a link to your latest build scan. It contains much, if not all, of the information the person answering your question might need to know. It’ll save you both time, and they’ll probably thank you for it.
Who’s using them? #
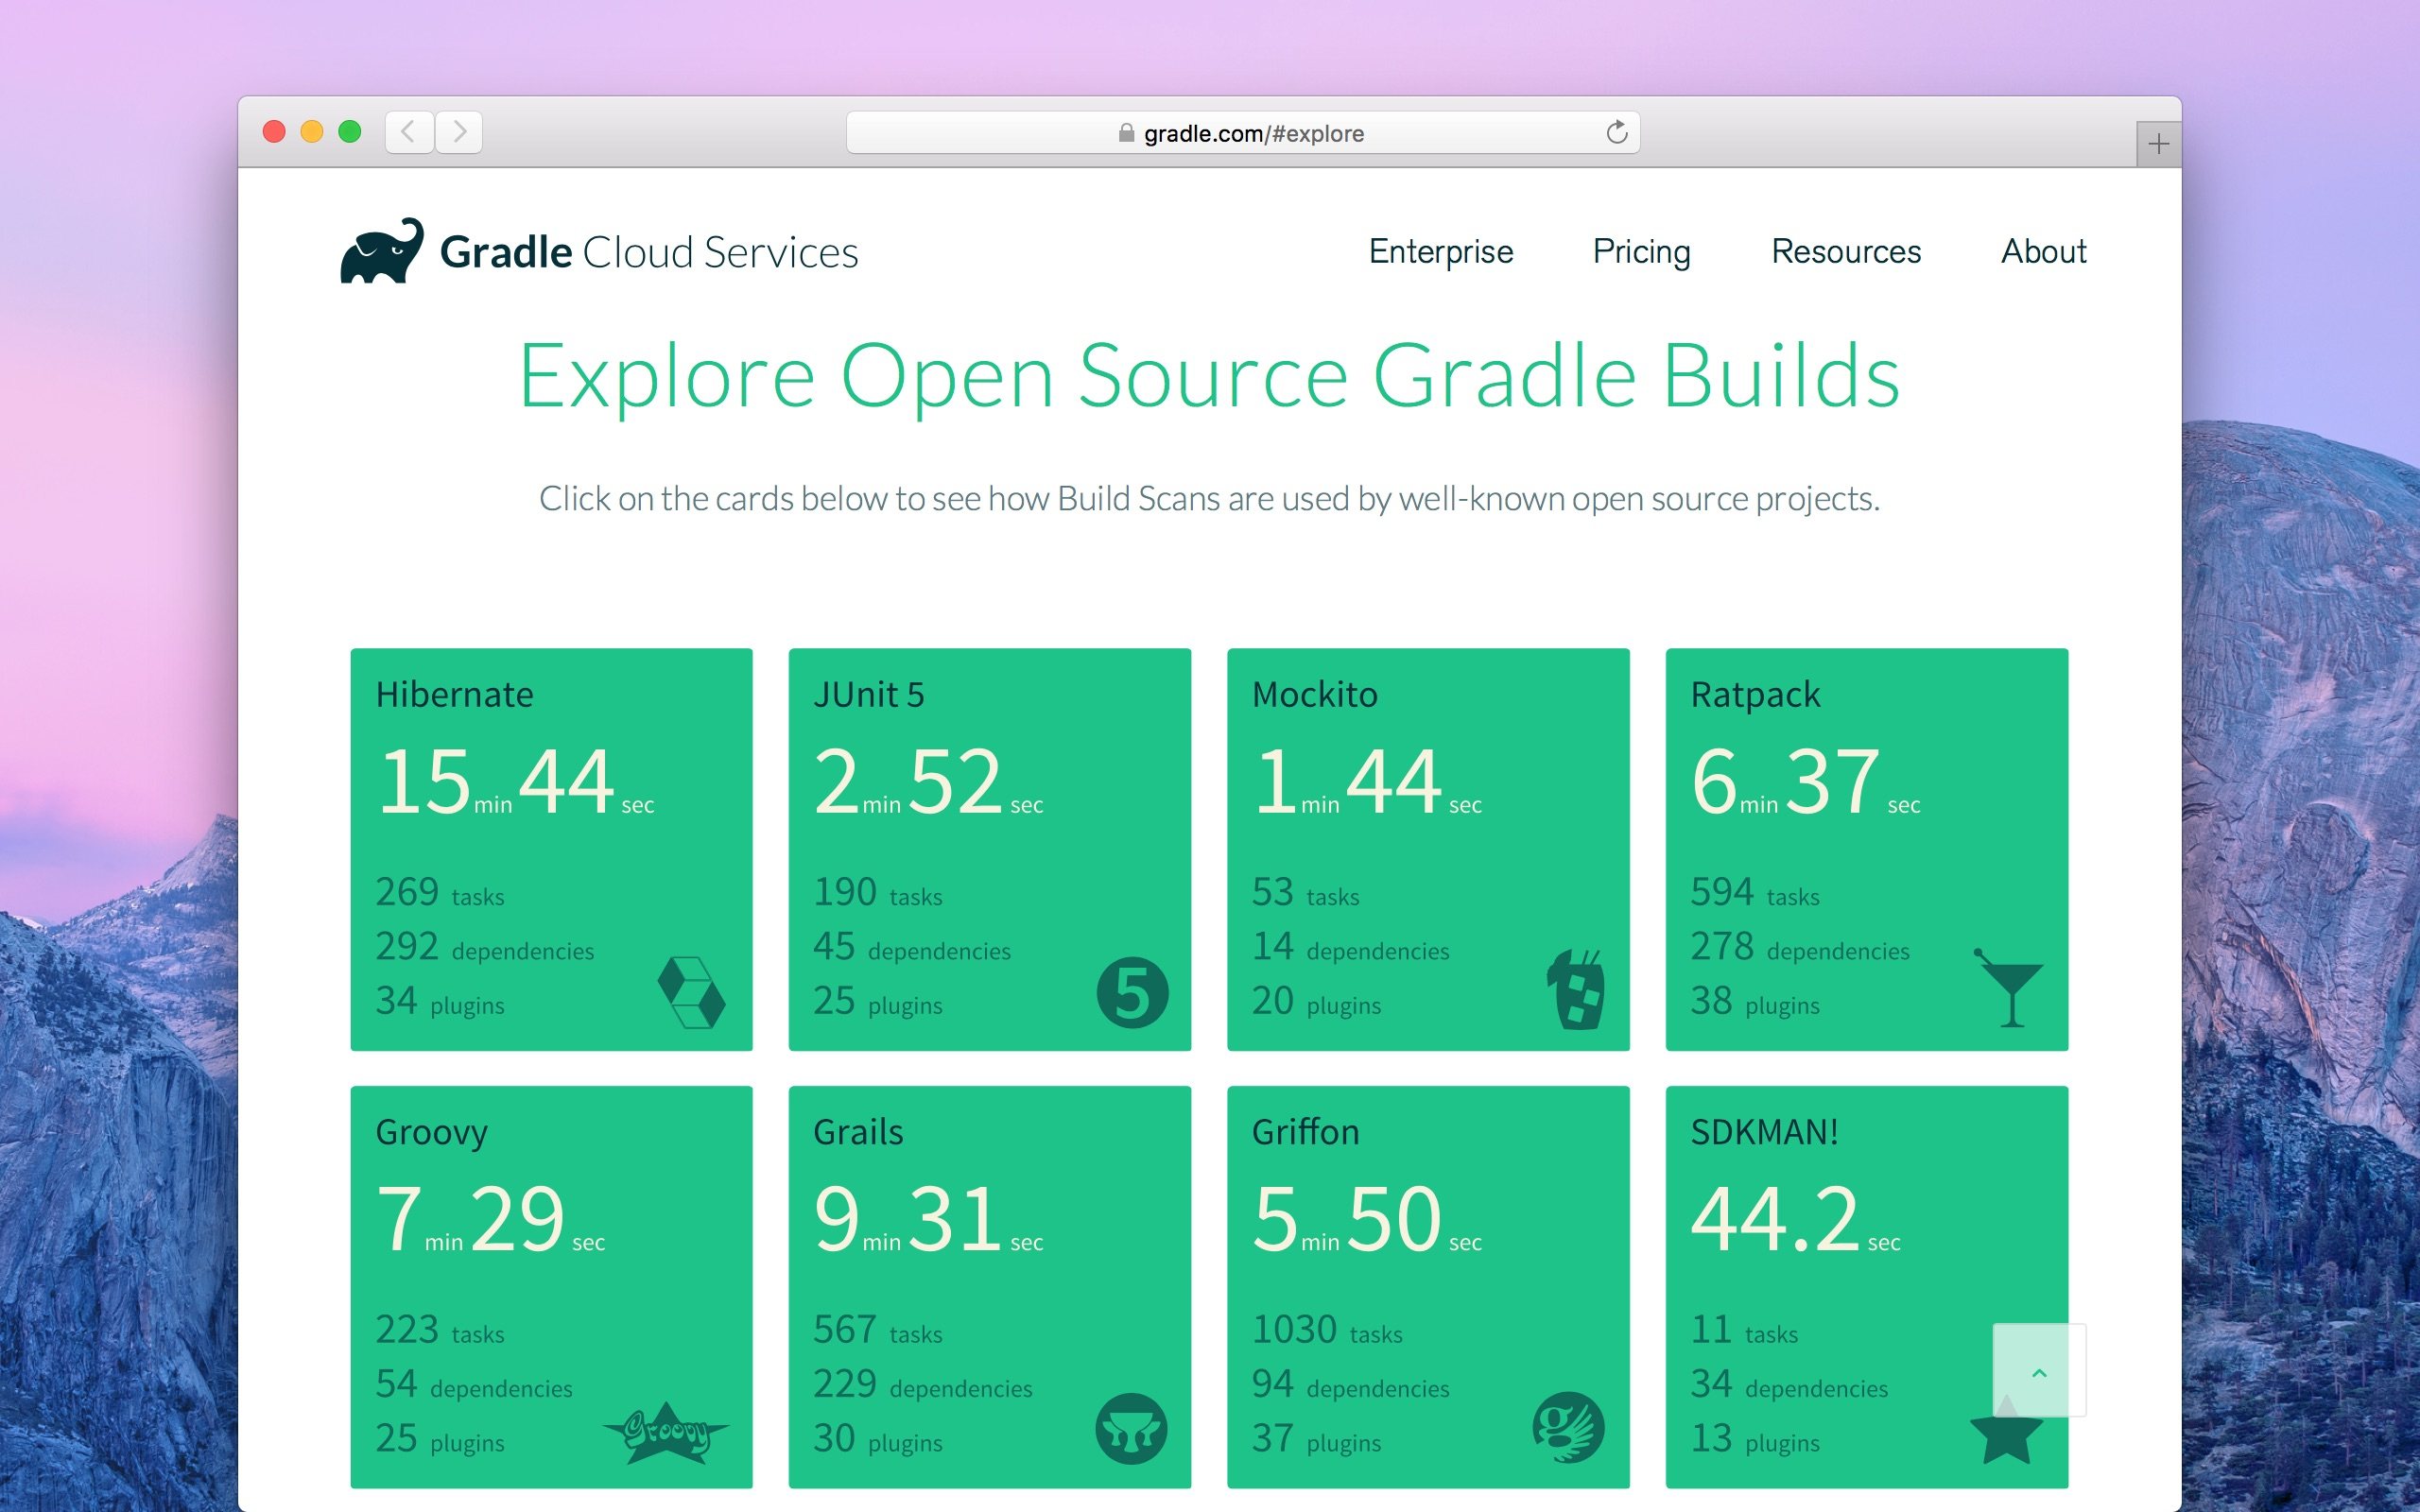
We’re excited that a number of prominent open source projects like Hibernate and JUnit 5 have already integrated build scans into their workflow. You can take a look through sample scans from each of these projects at gradle.com/explore.
Put build scans to use for yourself #
If you’re new to build scans, now is a great time to start using them. We’re continually rolling out new features, and we’ll cover each of them in subsequent posts. In the meantime, you can learn how to enable build scans for your existing projects via our getting started instructions, or get up and running with a sample project by cloning our quick start repository and following the steps in its README.
Happy scanning, and we look forward to your feedback!
